Remove Tree Roots After Stump Grinding: A Step-by-Step Guide

Table of Contents
What Stump Grinding Leaves Behind
Do Tree Roots Die After Stump Grinding
How to Remove Remaining Roots: Methods and Tools
Step 1: Locate the Roots That Actually Matter
Step 2: Expose and Cut the Major Roots
Step 3: Decide Whether to Pull, Grind, or Leave
Step 4: Use Equipment Only When It Fits the Job
How Long Do Tree Roots Take to Decompose
Safety Considerations Before You Start
Filling a Hole After Stump Grinding and Root Removal
Deal With the Debris First
Choose the Right Backfill
Manage Settling
Restore the Site
When to Leave Roots in Place
Conclusion
Frequently Asked Questions
Last Updated: October 20, 2026
What Stump Grinding Leaves Behind
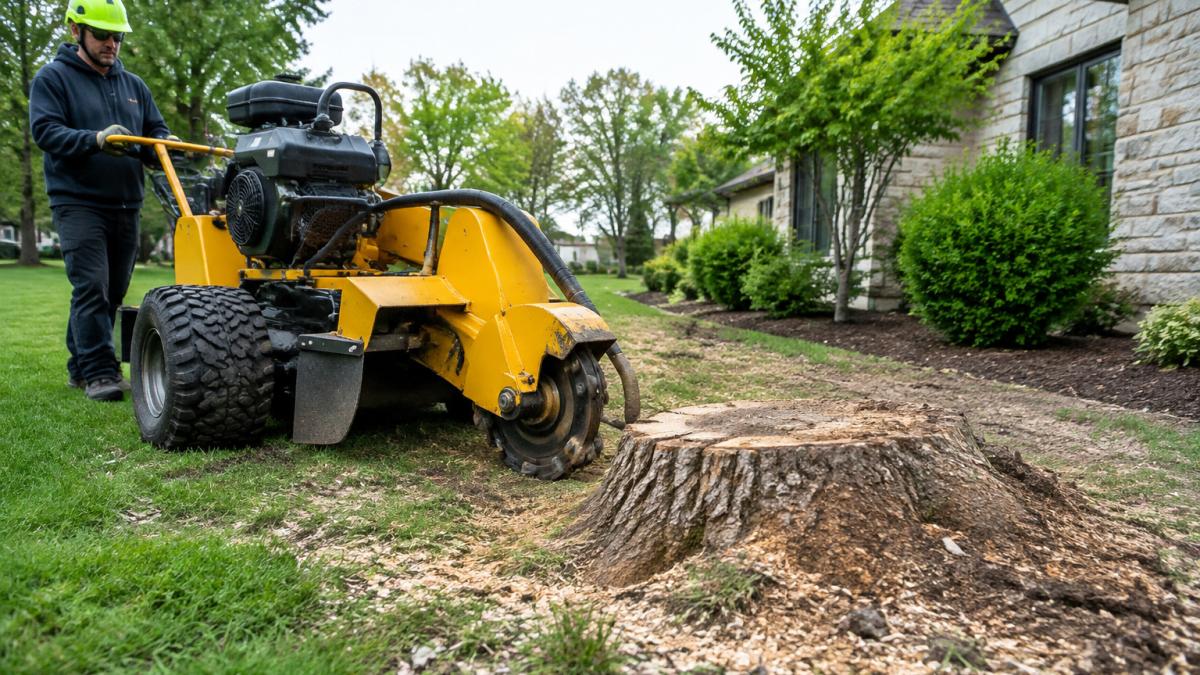
Stump grinding removes the visible stump, but to remove tree roots after stump grinding requires additional work beyond the initial grinding. A grinder typically goes 8-12 inches below the soil surface, leaving the bulk of the root structure intact underground: major roots spreading outward from the trunk plus countless smaller roots throughout the soil.
Those remaining roots can regrow and push through your lawn, crack foundations, lift pavement, or interfere with future landscaping. Understanding what's left behind helps you decide whether to remove those roots or leave them to decay naturally.
Key Takeaway Stump grinding leaves major roots and the root system intact underground. These remaining roots can regrow, damage property, or interfere with future plans.
Do Tree Roots Die After Stump Grinding
Tree roots do not die immediately after stump grinding. The roots that remain underground are still living tissue connected to what's left of the root system. Without the tree's crown and photosynthesis, though, they gradually weaken and eventually decay.
The timeline varies: small roots may die within months, while larger roots can take years to fully decompose. During this time, the roots can still sprout new growth, especially if conditions favor it, oak and maple roots are notorious for this.
Watch Out Tree roots can regrow after stump grinding, especially within the first 1-2 years. Without additional treatment, you may see new shoots emerge from the remaining root system.
How to Remove Remaining Roots: Methods and Tools
After grinding, the work shifts to deciding how to remove tree roots after stump grinding, which involves cleaning up a root system that is still in the ground.

Step 1: Locate the Roots That Actually Matter
Grinding leaves a shallow crater ringed by disturbed soil and wood chips. The roots visible at the crater edge are the starting point, but the ones that cause problems are usually the larger lateral roots running outward, often 1-3 inches below the surface near the stump and deeper as they extend.
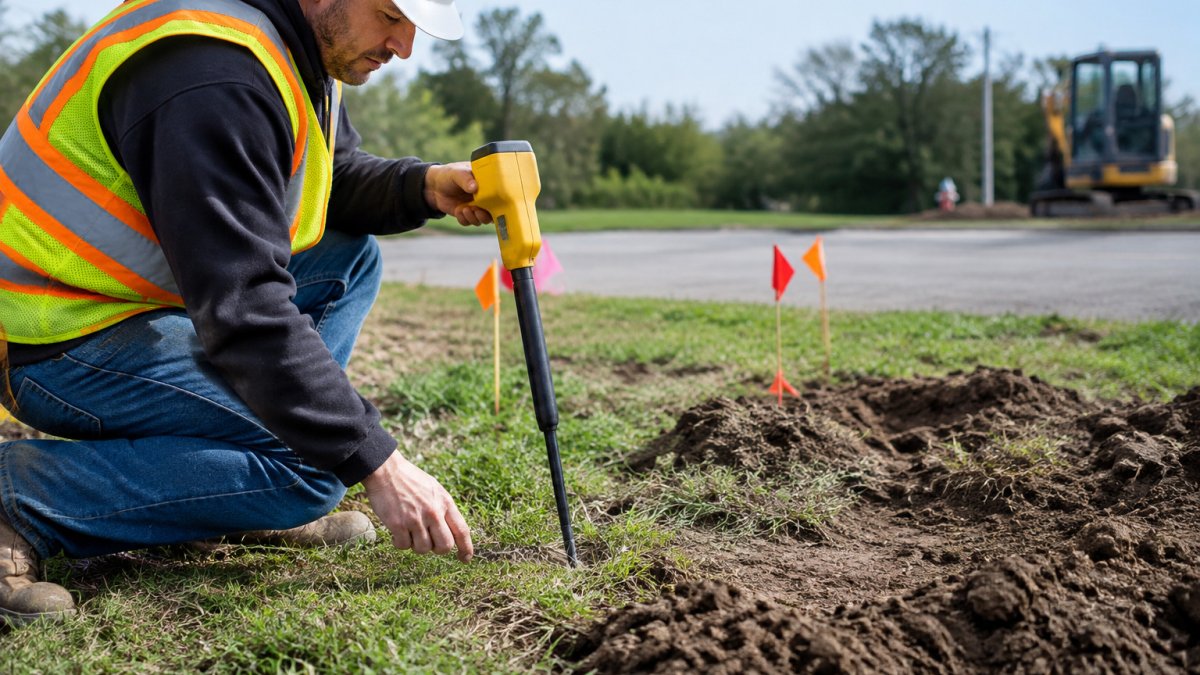
Probe with a soil knife, sturdy screwdriver, or length of rebar, pushing it into the soil in a radius around the grinding area and noting where it stops. A common pattern is three to five major lateral roots radiating from the stump, each with smaller branches.
Step 2: Expose and Cut the Major Roots
Once you've located the main roots, dig along them rather than digging one deep hole. A trench 12-18 inches wide following each major root lets you cut in sections and lift them out.
Cut roots with the tool that matches the diameter:
Hand pruning saw or folding saw: roots up to about 2 inches. Slow but precise, and safe near structures.
Reciprocating saw with a pruning blade: roots up to about 4 inches. Fast in tight spots and easy to control below grade.
Mattock or axe: roots up to about 4 inches when you need to sever and lever in one motion. Requires a clean swing and clear footing.
Cut each major root on both sides of the section you want to remove, then lift it out. A short stub attached to the stump side is fine if the stump was ground below grade; it will decay.
Step 3: Decide Whether to Pull, Grind, or Leave
After the major roots are severed, you have three practical finishes:
Pull by hand or with a lever: works for roots under about 3 inches and within 2-3 feet of the surface. A mattock, a digging bar, or a come-along can break the root's grip on the soil.
Grind below grade: a stump grinder can be walked over the area to grind remaining root crowns and surface roots 6-12 inches down. This is the fastest way to clear a lawn or planting bed without a large excavation.
Leave to decay: for roots deeper than about 12 inches or beyond the area you plan to use, leaving them is usually the right call. They will decompose over years and cause no problem if the area stays undisturbed.
A practical stopping point: remove roots within the footprint of a new patio, driveway, addition, or planting bed, and roots that are surfacing or within a few feet of a foundation or utility line. Roots deeper than 12 inches and outside that footprint rarely justify the cost and disturbance of removal.
Step 4: Use Equipment Only When It Fits the Job
An excavator or backhoe removes roots most thoroughly, but it's disruptive and expensive. It makes sense for large stumps, deep root systems, new construction, or major regrading.
If you do bring in equipment, call 811 before any digging. Utility locating is free, and hitting a gas, electric, water, or sewer line is dangerous and costly. Keep heavy equipment off areas near foundations, septic fields, and paved surfaces.
Watch Out Never operate a chainsaw in a hole or trench. Cut roots with a reciprocating saw, hand saw, or mattock when you are working below grade.
Best for: Hand tools for small to medium root systems and tight spaces; reciprocating saw for medium roots; excavation for large stumps, deep roots, and construction sites.
How Long Do Tree Roots Take to Decompose
Tree roots decompose slowly. Small roots may break down in 1-3 years. Medium roots take 3-7 years. Large roots can persist for 10+ years, especially in dry soil or if the tree was old.
Lekovite Biljke
Several factors affect decomposition speed:
Tree species: Hardwoods like oak decay slower than softwoods like pine
Soil moisture: Wet soil speeds decay; dry soil slows it
Soil temperature: Warm climates accelerate decomposition
If you're not removing roots, plan for a long wait. Planting before roots fully decay can stunt new growth, since decaying roots tie up nitrogen and create voids that cause settling.
Pro Tip Accelerate root decay by keeping soil moist and warm. Add compost or mulch to boost soil biology. This won't speed things dramatically, but it helps.
Safety Considerations Before You Start
Before removing roots, take these precautions.
Utility location is non-negotiable. Call 811 or your local utility locating service before digging (811 Before You Dig).
Inspect for hazards. Look for signs of disease or pest damage in remaining roots.
Assess stability. If the tree was large or the stump is near a structure, remaining roots may be anchoring soil.
Plan for disposal. Root wood is heavy and bulky. Plan how you'll haul material away before you start.
Filling a Hole After Stump Grinding and Root Removal
Filling the hole determines whether the site settles, drains, and supports new growth, and it's where most post-grinding projects go wrong, usually from the wrong material or too little compaction. The goal is a stable, well-drained patch that matches the surrounding grade.
Deal With the Debris First
Grinding produces a mix of wood chips, shredded bark, and soil. Root removal adds root wood and more disturbed soil. Separate the material before backfilling:
Wood chips and grindings: do not backfill the hole with pure chips. They decompose, settle, and tie up nitrogen at the surface. Use them as mulch or haul them away.
Root wood: cut large roots into manageable lengths, or chip them if you have access to a chipper. Many municipalities accept yard waste and root wood at a transfer station or through curbside pickup; check local rules before hauling.
Soil: stockpile the soil you dig out. It can go back in the hole after the roots are removed, but expect it to be mixed with chips and to need amendment.
Choose the Right Backfill
For holes deeper than about 12 inches, a layered backfill saves cost and reduces settling:
Bottom layer: coarse material such as gravel or clean fill, 6-12 inches, to fill deep voids and aid drainage. Avoid pure wood chips in the bottom of a deep hole; they will settle unevenly as they decay.
Middle layer: native soil or clean fill, added in 6-8 inch lifts and compacted between lifts.
Top layer: quality topsoil mixed with compost, 4-6 inches, to support lawn or planting.
For shallow holes, skip the gravel and backfill with soil in lifts. Compact each lift with a hand tamper or by walking over it systematically. Do not over-compact the top layer; roots and grass need air. Firm it, then rake it smooth.
Manage Settling
Even with careful compaction, expect 1-2 inches of settling over the first few months, and more over the first year if the hole contained a lot of organic material. Two habits reduce the problem:
Overfill slightly, about 1-2 inches above the surrounding grade, and let the soil settle to grade.
Check the patch after the first heavy rain and top it off with additional topsoil as needed.
If the hole is in a lawn, keep the patch slightly crowned so water drains away from the center.
Restore the Site
What you do on top depends on the plan for the area:
Lawn: spread topsoil, seed or sod, and water consistently until established. Keep foot traffic off the patch for several weeks.
Planting bed: amend the top layer with compost, plant, and mulch. Avoid planting large trees directly over the old root mass until it has decayed further; small shrubs and perennials are usually fine.
Paving or structure: remove organic material thoroughly, backfill with compactable base material, and compact in lifts. Do not build over a hole filled with wood chips or loose soil.
Pro Tip Keep the backfill slightly above grade and check it after the first heavy rain. Topping off with topsoil after settling is normal and expected.
Expected settling: 1-2 inches over the first few months, more where organic material was left in the hole. Plan to top off the patch at least once.
When to Leave Roots in Place
Not every homeowner should remove all remaining roots. Sometimes leaving them is the smarter choice.
Leave roots in place if:
The stump is in a remote corner where roots won't interfere with structures or future projects
The tree was small and roots are shallow; they'll decompose within a few years anyway
Removal costs exceed the benefit
Remove roots if:
They're near your home's foundation, septic system, or underground utilities
You're building, installing a pool, or doing major landscaping
Roots are surfacing and creating trip hazards or damaging pavement
Anderson Tree Care can assess your specific situation and recommend the best approach for your property.
Best For Leaving roots in place works best for properties with space to spare, no immediate construction plans, and tree species that decompose at a reasonable rate.
Conclusion
Removing tree roots after stump grinding is manageable when you understand your options.
The reality is simple: stump grinding leaves roots behind. Those roots don't die immediately. They can regrow, cause damage, or interfere with your plans.
If you're unsure about root depth, proximity to structures, or the best removal method, Anderson Tree Care can help. Our team brings over a decade of experience removing stumps and managing root systems safely.
Frequently Asked Questions
Do tree roots die after stump grinding?
Not immediately. Stump grinding removes the visible stump and grinds the top 6-12 inches of the root system into wood chips, but roots deeper underground remain alive and may continue to sprout for months or years. The remaining root system can still absorb water and nutrients from the soil. However, without the tree's canopy to support, these roots gradually weaken and decay over time. Whether they fully die depends on root depth, tree species, and soil conditions.
How long do tree roots take to decompose after stump grinding?
Tree roots typically take 3-7 years to fully decompose, depending on species, soil moisture, and temperature. Softwood trees like pine decompose faster (3-4 years), while hardwoods like oak can take 7-10 years or longer. Moist soil speeds decomposition through microbial action, while dry conditions slow it significantly. During this period, roots gradually lose structural integrity and break down into soil organic matter, though smaller roots may disappear within 1-2 years.
What tools do I need to remove tree roots after stump grinding?
For hand removal, you'll need a shovel, mattock, and pruning saw or axe. A shovel exposes roots by digging soil away, a mattock breaks through compacted soil and root fibers, and a pruning saw or axe cuts through roots cleanly. For larger operations, a trenching spade or root saw is helpful. Wear heavy-duty gloves and safety glasses. For deeper or extensive root systems, consider renting a small excavator or hiring professionals with specialized equipment to avoid injury and property damage.
Can I plant grass or new trees where roots were ground?
Yes, but timing matters. After stump grinding, fill the hole with topsoil and wait 2-4 weeks before planting grass seed or a new tree. This allows the soil to settle and prevents settling issues later. For new tree planting, ensure the hole is deep enough for the root ball and mix in compost. If large roots remain underground, they may compete with new plantings for water and nutrients, so removing them first improves success rates. Avoid planting directly over major roots still in the ground.
Call or Text for estimate

Comments